Hello! It’s Jessica from Pretty Prints & Paper and I’m honored to be featured on the Bullet Journal blog this month. It’s my favorite time of the month – when you can reflect and start anew with another monthly set up in your bullet journal. It’s almost like getting a new start and it’s full of possibility. You’ve probably seen that it’s planner time for “back to school” season and I’m seeing so many beautiful planners and I’m enchanted by them every single time – until I open them up and realize their structures don’t match up with what I need. And I am grateful again for this system! (Thanks Ryder!)
I started bullet journaling May of 2015 where I rediscovered the system. I quickly adapted the system to suit my needs, so it looks a little different than what you’ve seen others use. So here we go – a little show and tell of my system!
My Bullet Journal Set Up: The Basics
I love notebooks but I quickly ran into the issues of separating my lists from my planning just a little bit. I knew I preferred to have everything in one place with me with some kind of separation. When I discovered the Traveler’s Notebook, I knew it was perfect!

This is basically a leather cover that has 4 elastics along the spine that holds the notebooks you slide inside. I love the A5 ish size so I use the large 8” x 5” notebooks inside a Foxy Notebook cover (size Classic No 7). I currently have 4 notebooks: one each for Rapid Log, Planning, Collections, and Blog Planning. I carry this everywhere with me. (Separately, I have a notebook just for work notes and plans, as well as a home notebook for more permanent reference lists).

The modular nature of the system means that I can replace different sections as they fill up, which means planning turns over more than my lists. You can also go down to even just 2 inserts to lighten it up as much as you need to.
Ready for the set up?!
July Bullet Journal Set Up
You should know that this is the most work I’ve put into my monthly set up and I decided to fancy it up for July – and whether you like the handlettering and stamps or not, I hope you can identify if the function of the pages will work for you and go from there to make it your own! Here is how I set my notebook up.

Goals Page.
Every time I start a new insert, I want to stay rooted in my goals for the year. Too many new years resolutions have been left lying in the dust and since my inserts last around 3 months, it helps me re-center on these intentions I had.
I’m using adorable hexagon stamps from Foxy Fix and colored pencils (brand unknown) that were gifted by my sister in law.

Monthly Grid.
OMG I cannot even tell you how much I love how this page turned out! I’ve tried the list format but it didn’t process the same way in my visual-brain. After a quick and total mess up the first go around, I got the stamps to line up right. This definitely takes more time than a straight drawn grid or even a printed grid, and I may not do it every month, but I love the way it turned out. I added the highlight of some colored pencil and the numbers in light gray Tombow marker.
Since I use Google calendar for events, I use this spread to jot down various Instagram challenges, blog posts, etc so I can focus spare time on these upcoming posts. You can use this for a lot of different things as well, obviously.

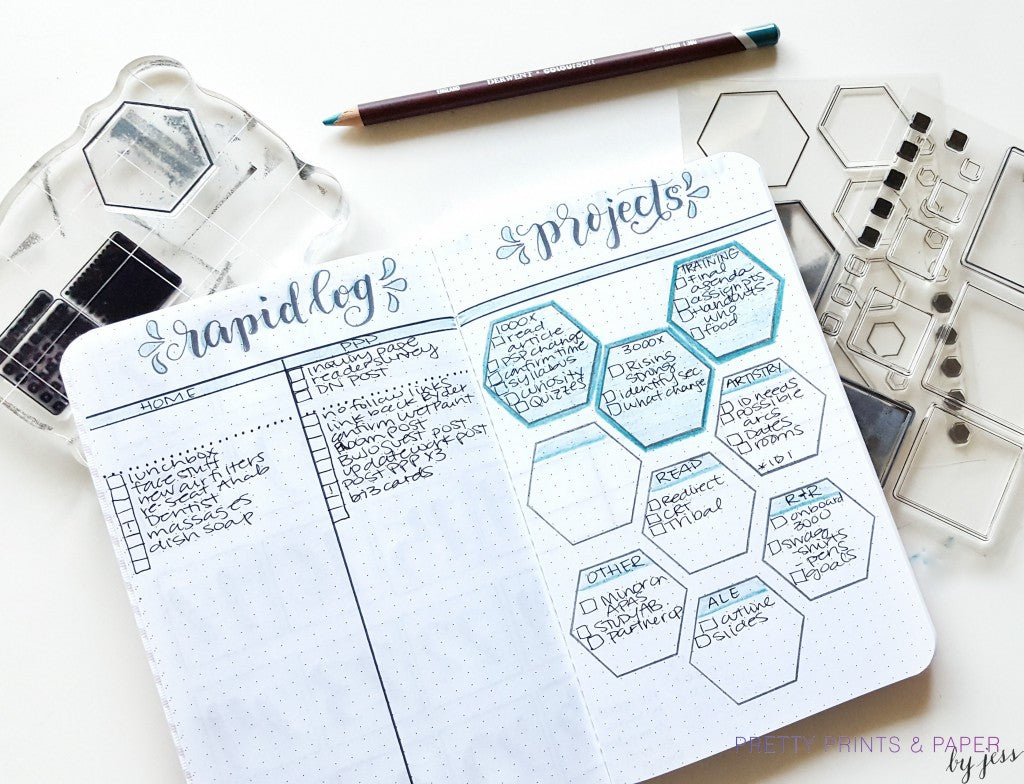
Monthly Task & Project Log.
Okay this might be my favorite page ever. I took the “monthly task” layout and adapted it to be more visual. This helps me do a few things – continue using the loosely categorized Rapid Log for tasks due “sometime this month” and tracking my projects. Summer is high tide for my job and I have the blessing and the chaos of keeping track of 203409834 projects – so I used some big Hexagon stamps, one for each project I’m focusing on in July. The shaded ones are my top priority projects with some key next steps I want to accomplish this month.
Want to see more of my project planning ideas? See my work post, project post, and some other ideas from my freelance post.

Weekly.
The weekly is NOT part of the original bullet journal system but I find that it works extraordinarily well for me because I visualize my time in week-long arcs. Each week looks a little different but this view helps me plan better than an isolated daily. I used to do a 7-day weekly ala TinyRayofSunshine, but I realized I used weekdays and weekends very differently in my bullet journal. So, a couple months ago I split them up in order to separate their function. These 5 days can focus on my standard work week – my priority tasks above the dotted line, date-specific tasks in the main body, gratitude log in the 2nd row, expenses in the 3rd row. My weekly habit tracker stamp (from Aetelier Dreams) has been awesome. The space on the left is for “sometime this week” tasks and on the right is open for any projects that I happen to be working on.

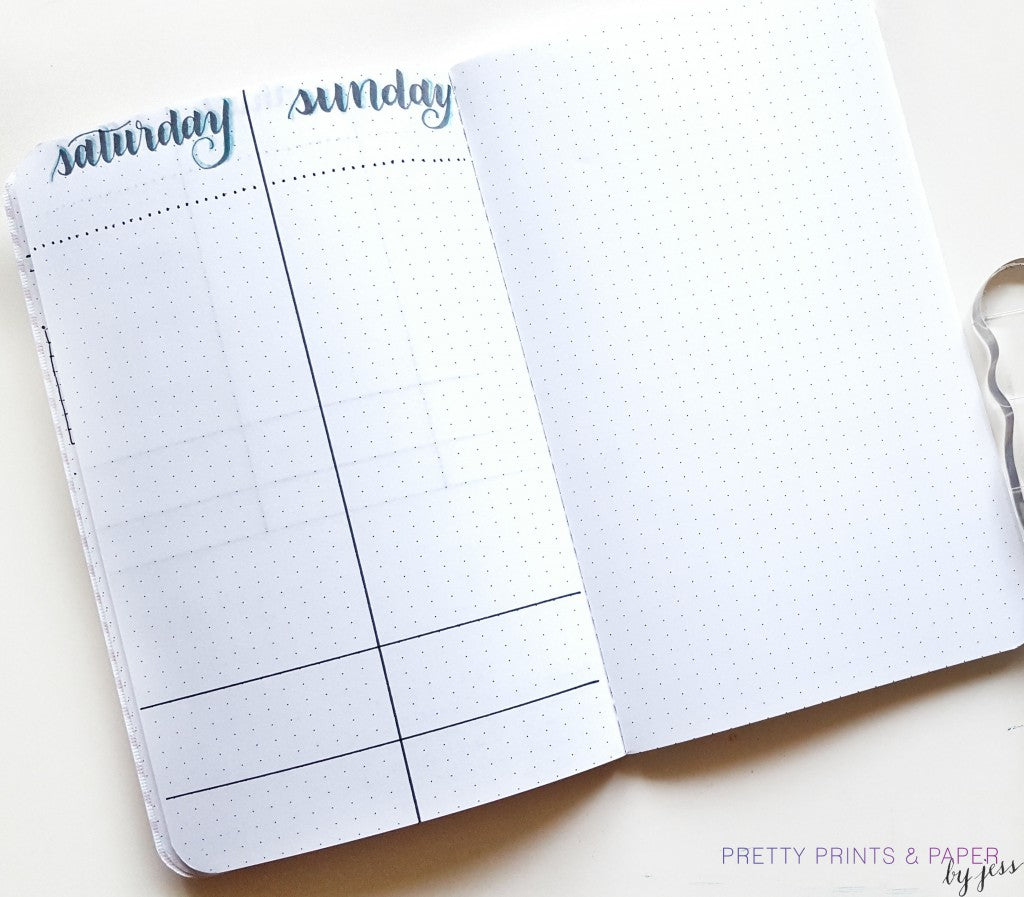
Weekend.
And the companion to the weekly is the weekend – it’s been working so much better to have this mimic my weekly set up with the main task area, and gratitude and expense sections. I either usually take it easy on weekends and barely touch it, or it’s a huge to-do list.
The opposite page can be used for just about anything – brain dump, mind map, sketching, or review.
So that’s it – that’s how I’ve evolved this system to work for ME. It took me a lot of thinking and personal reflection to really adapt the structure to my own life. So HUGE thanks to Ryder for featuring me this month on the blog – I hope what I’ve shared has been helpful for you. What are you up to this month in your bullet journal? Let me know down below!
Yours,
Jessica

